Quantcast
Channel: BBB3VIZ
Viewing all 127 articles
Browse latest View live

Affinity for Me

$
0
0

affinity-photo-icon

When Adobe and Autodesk scrapped perpetual licenses and introduced rental-only models, forum posts starting sprouting all over the web about alternatives to Max, Maya, and Adobe’s Creative Cloud.

I’m not going to go too much into what I think of the rental model, since I’ve written about it in the past. Suffice to say that it is a very good deal for shareholders and a pretty raw one for users, especially small studios and lone cowboys like me.

The good news is that in an open economy, a company can only force a business model onto dissatisfied users as long as there is no competitor offering a comparable product on a basis users prefer. In practice, however, there are formidable barriers to entry. In 3ds Max’s case, the proprietary nature of the .max file makes it hard for users to switch if the entire industry doesn’t. In addition, Autodesk has had the wisdom to grandfather existing maintenance plans, offering a last refuge to people like me who have vowed never to buy into the rental model (no pun intended).

Adobe is different, especially when it comes to Photoshop. Given the relative openness of the .psd format and the fact that Photoshop has not evolved that much since the Creative Suite, it has been easier for competitors to find a toehold in the image-editing space. And that’s where today’s fantastic news comes in.

When I heard last week that Serif’s Affinity Photo, a highly-praised image-editing app for the Mac, was making the move to Windows, I decided to give it a spin. I’ve been using Adobe CS5 since I bought it and never felt that I needed any of the features introduced since the move to CC. But lately, some plugin developers have started dropping support for the old suite when releasing new versions of their apps, which is a problem. I believe Affinity is the solution.

I’m not saying this because Affinity, which is now in open beta for Windows and free for anyone to try, has a fantastic set of features, including a full RAW-file developing studio, panorama stitching, lighting tools, haze removal, .psd compatibility, mesh-wrapping tools, perspective correction, advanced masking algorithms, and is compatible with 32- and 64-bit Photoshop plugins, all organized in a way that will be familiar to all seasoned PS users.

lighting

I’m saying this because it has something that Photoshop doesn’t have and that is going to literally change my life.

I’ve been working a lot with scanned textures lately. My workflow for this has been to extract separate diffuse and displacement maps by baking a high-resolution mesh to a flat plane inside Max. It works great. I’ve done great sand, soil, and cobblestone textures that way. But there has been one huge difficulty in this workflow: How to make the textures tileable.

The offset-and-paint approach that we all use has been tough to translate to scanned textures because Photoshop doesn’t allow the clone tool to work on two layers at the same time, whether you link them or group them. There are workarounds, but they are all very clunky, time-consuming, and the outcome is generally not satisfying.

So after installing the Affinity beta, this is the first thing I tried. I stacked a scanned, non-tileable diffuse map on top of its corresponding 16-bit height map, grouped them, and proceeded to offset and clone them. And surprise: Even though this is nowhere to be found in Affinity’s documentation, it works! The cloning of the top layer is replicated on the layer below.

For me, and I’m sure for anyone who works with scanned texture, this is huge! It is going to change my workflow radically and make my life so much easier.

I felt like posting this because something rare has just happened: A developer has come up with an alternative for a software I’d been desperate to move away from, and it is not only offering all the features I need, but also a crucial one that I didn’t have and had been dreaming about at night.

Some things are still missing of course, starting with better support for 32-bit images (beyond some nice tone-mapping tools that are great for photographers but of little use to 3D artists), but it is also something Photoshop lacks. So I know that when the beta expires, I’ll gladly give Serif my money for a permanent license and will likely keep it up to date.

So go ahead, download it, try it, and prepare to save space on your hard drive by finally uninstalling Photoshop. You will never need it again.

Note: All images in this post are property of Serif


BBBLACK FRIDAY

$
0
0

bulb2

Thanksgiving is upon us again, and this doesn’t just mean a lavish Turkey feast. It also means that Black Friday and Cyber Monday are just around the corner.

And so, as every year, is the BBB3viz Annual Discount Spectacular.

The sales will kick off on Friday, November 25th at midnight, Central European Time (In the US, this would be 6pm EST on Thursday) and end Monday night just after midnight (or just after 6pm EST).

What does that mean? A flat 30% discount on selected items in the Warehouse.

I will aim to cover a wider range of models than last year, not just full scenes. Watch this space for a list of links to discounted products. And if you have any special wishes, just drop me a line in the comments below.

NOTE: To my Facebook buddies, a quick reminder that while I can read your comments, I can’t answer them on Facebook since I don’t have an account. If you have any burning question, please post them on the blog.

SALES ON!

$
0
0

bulb3

We’re on. The BBB3viz annual sales have started and the clock is ticking. As you scroll down for the links to the discounted assets, you’ll see this is a much bigger selection than last year’s. Most assets have a 30% discount, with 50% off a few at the end of the list.

Let me know if you see anything that’s missing, I may be able to add it to the list (Checkmate Items can unfortunately not be discounted in Turbosquid).

Have fun, and remember, this ends on Monday night, and it’s only once a year!

Full Scenes: -30%

Corona Loft: $99 / $149:

Scandinavian Interior: $99 / $149

Modern Interior: $99 / $149 

Parisian Interior: $66 / $99 

Assets: -30%

HQ Vegetation Pack: $99 / $149

Tolix Chairs and Stools Pack: $39 / $59

Scanned vegetable with scene: $39 / $59 

Bread Assets: $39 / $59

Bread Assets 2: $39 / $59

Bread Assets 3: $39 / $59

Cheese Board: $39 / $59

Wegner Chinese Chair & Bench: $33 / $49

Modern Wood Kitchen: $33 / $49

400 realistic books: $30 / $45

Chocolate & Caramel Sweets: $26 / $39

Vietnamese Pho Soup: $26 / $39

Decorative Autumn Twigs: $26 / $39

Flag Halyard Chair: $26 / $39 

Vintage Les Arcs Chair: $26 / $39

Spanish Chair: $26 / $39

Hunting Chair: $26 / $39

Kitchen Accessories 1: $26 / $39

Kitchen Accessories 2: $26 / $39

Kitchen Accessories 3: $26 / $39

Photographic Lighting Equipment: $26 / $39 

Espresso Machine: $33 / $49

Real Linden Tree: $26 / $39 

Real Plane Tree: $26 / $39 

Real Arch Trees: $26 / $39

Real Mature Tree: $26 / $39

Three Gio Ponti vintage Armchairs: $19 / $29

Fly Sofa Armchair: $19 / $29

BMF Candleholders: $19 / $29

Scandi Rocking Chair: $19 / $29

Rosemary Pot: $19 / $29

Basil Pot: $19 / $29

Industrial Style Coat Hanger: $19 / $29

Nagel Candleholders: $19 / $29

Lassen Candleholder & Bowl: $19 / $29

French Antique Dresser: $19 / $29

Pumpkins: $19 / $29

Assets -50%

Old Factory Environment: $39 / $79

Set Dinner Table: $39 / $79

Wood Bowl: $18 / $39

SALES EXTENDED!

$
0
0

extended

After opening this year’s Black Friday BBB3viz sales (my only sales of the year), I’ve had a couple of requests to extend it until the end of the month.

Hence the sales will not end on Monday at midnight, as originally announced, but run through this weekend, ending on Sunday, Dec. 4th, at midnight (central European time).

Here are the links to the discounted assets again:

Full Scenes: -30%

Corona Loft: $99 / $149:

Scandinavian Interior: $99 / $149

Modern Interior: $99 / $149 

Parisian Interior: $66 / $99 

Assets: -30%

HQ Vegetation Pack: $99 / $149

Tolix Chairs and Stools Pack: $39 / $59

Scanned vegetable with scene: $39 / $59 

Bread Assets: $39 / $59

Bread Assets 2: $39 / $59

Bread Assets 3: $39 / $59

Cheese Board: $39 / $59

Wegner Chinese Chair & Bench: $33 / $49

Modern Wood Kitchen: $33 / $49

400 realistic books: $30 / $45

Chocolate & Caramel Sweets: $26 / $39

Vietnamese Pho Soup: $26 / $39

Decorative Autumn Twigs: $26 / $39

Flag Halyard Chair: $26 / $39 

Vintage Les Arcs Chair: $26 / $39

Spanish Chair: $26 / $39

Hunting Chair: $26 / $39

Kitchen Accessories 1: $26 / $39

Kitchen Accessories 2: $26 / $39

Kitchen Accessories 3: $26 / $39

Photographic Lighting Equipment: $26 / $39 

Espresso Machine: $33 / $49

Real Linden Tree: $26 / $39 

Real Plane Tree: $26 / $39 

Real Arch Trees: $26 / $39

Real Mature Tree: $26 / $39

Three Gio Ponti vintage Armchairs: $19 / $29

Fly Sofa Armchair: $19 / $29

BMF Candleholders: $19 / $29

Scandi Rocking Chair: $19 / $29

Rosemary Pot: $19 / $29

Basil Pot: $19 / $29

Industrial Style Coat Hanger: $19 / $29

Nagel Candleholders: $19 / $29

Lassen Candleholder & Bowl: $19 / $29

French Antique Dresser: $19 / $29

Pumpkins: $19 / $29

Assets -50%

Old Factory Environment: $39 / $79

Set Dinner Table: $39 / $79

Wood Bowl: $18 / $39

ON THE BEACH

$
0
0

Villa on the beach

After a lot of interior work and furniture modeling, I’ve been wanting to do an exterior for some time. A few weeks ago, I chanced upon the nice VillaCD by Belgian architects OOA and decided to use it as a source of inspiration.

This was also an excuse to try my 3D-scanned ground textures and a few pine trees I’d done in GrowFX.

On the image above, you can also spot one of the great models by Humanalloy, which I believe makes the best 3D people around.

The modeling was done in 3ds Max 2016 (it would have been made in Max 2017 if it weren’t so unstable as to be unusable nearly a year after release) and rendered in V-Ray 3.4. Some very light-touch post-production in ArionFX. The grass and trees were, of course, scattered with Itoosoft’s ForestPack Pro.

For lighting, I used mainly Peter Guthrie’s early morning skies.

Hope you like it.

Villa on the beach

Villa on the beach

Villa on the beach

Villa on the beach

Villa on the beach

Villa on the beach

Villa on the beach

Villa on the beach

Villa on the beach

Villa on the beach

Villa on the beach

Villa on the beach

Villa on the beach

Villa on the beach

At the museum

$
0
0

Image courtesy of Diller Scofidio + Renfro

About a year ago, I was approached by architecture firm Diller Scofidio + Renfro about my renders of Pierre Chareau’s Maison de Verre in Paris. The firm had been commissioned by the Jewish Museum in New York to design an exhibition about the late French architect and was wondering whether my model could be incorporated into a virtual reality experience for the show.

It turned out it could. Using my 3ds-Max/V-Ray scene as a base, the bright folks at DS+R conceived a 360-degree display of the interior. It is one of several such displays in an exhibition that is heavy on technology. It’s also the second scene of mine to be grabbed by someone else and turned into a VR experience (I’m afraid my gear is not powerful enough to render these huge panoramic images).

Pierre Chareau: Modern Architecture and Design opened last month and is on through late March. It’s received mostly very positive reviews, largely credited to DS+R’s innovative approach. So if you are in New York or passing through, have an interest in modernist architecture and are a bit of a geek, make sure to stop by.

Here’s a link to one of two (!) reviews written by the New York Times. This one focuses more closely on the VR experience (though it’s also a focus of the other one here). Another review here is the only one I found that also mentions my modest role on the project, though it is less positive than most.

Check out the pics in this post, which were kindly provided by the Jewish Museum in New York. It’s certainly fun and gratifying for me to ponder about the distance this model, originally intended as a private pursuit, has traveled and how many people will see it.

Photo: Will Ragozzino/SocialShutterbug.com. Exhibition design by Diller Scofidio + Renfro.

Photo: Will Ragozzino/SocialShutterbug.com. Exhibition design by Diller Scofidio + Renfro.

Image courtesy of Diller Scofidio + Renfro

Of the Future

$
0
0

Futuristic Atrium

This may look like a set from Star Trek, but it is actually inspired by an existing building in Berlin (the city’s chamber of commerce), though with considerable liberties taken. As a footnote, for film and art buffs, the original building was actually used recently as a film set for Manifesto, an hypnotic video installation by artist Julian Rosefeldt, featuring Cate Blanchett.

This was meant as a RailClone study, to see if such a structure could be re-created almost exclusively using Itoosoft’s amazing plugin.

It was also an occasion to play with Corona’s new LightMix (yes, I know, it’s been around for a little while, but I’ve never been much of an early adopter) and Glare & Bloom tools.

If you want to play with it, the scene is for sale in the BBB warehouse here. It includes the RailClone scene with all you need to experiment. It also includes a non-RailClone version, with all RailClone objects baked into meshes with proper instancing so that it doesn’t get too heavy.

If you want to use the scene as a virtual set and don’t care much for the elliptical structure in the middle of the floor, there is an alternative version of the ground floor located in a hidden layer that doesn’t include the elliptical indentation in the middle. Just activate it and hide the booth and the existing marble floor and you’ll be left with only the facades and the elevator shaft.

The scene is available for 3ds Max 2016+ and Corona 1.5+.

Futuristic Atrium

Again, I found RailClone to perform beyond all expectations. The images here are almost 90% RailClone, based on the few segments shown below:

Modern Atrium Making-of

Here are the splines I used to guide the arrangement of the building (the closed one is a clipping spline that tells RailClone to ignore all parts of the segments outside it).

Modern Atrium Making-of

And here is the final RailClone structure, shown as a point cloud.

Modern Atrium Making-of

This is the way it looks as a mesh, with instancing preserved:

Modern Atrium Making-of

And the entire scene, including a backdrop building:

Modern Atrium Making-of

A few more renders below, using different settings in LightMix. For a complete set of images, check here.

Futuristic Atrium

Futuristic Atrium

Futuristic Atrium

Futuristic Atrium

Best Visualization of the Year


Oscar

$
0
0

Oscar Armchair

I finally got around to modeling this wonderfully elegant chair by Sergio Rodrigues. Instead of using a texture as in other assets, I decided to model the caning, and I’m glad I did as it really adds a new level of realism.

The model can be found here (for V-Ray and Octane and Max 2013+).

The renders here were done in Octane, which is great for rapid prototyping of shaders and simple scenes. The brick wall is one of the latest additions in textures.com’s repository of scanned material. They’re amazing!

Oscar Armchair

Oscar Armchair

Oscar Armchair

Oscar Armchair

Danish-Italian love affair

$
0
0

Easy Chair

Some double practice here, modeling Jørgen Kastholm’s PK6270 Easy Chair and a generic Venetian mirror, something I had long wanted to do and put off forever. The scene was quickly thrown together to showcase the two models. I used Octane for rendering this time as I was looking for a very quick feedback and the scene is very simple.

You can find both models here and here. If you like the floor, it’s a free texture you can grab here. The free downloads include some tutorial images about how to use it, and there is also a higher-res commercial version of the maps.

If anyone is interested in the crunched paper balls, I used this tutorial as a starting point. It’s a very simple and convincing method.

The mirror is basic poly-modeling in Max. The chair has a little bit of ZBrush going on on the seat.

I actually did a timelapse video of the mirror model, including all mistakes, double-backing and hesitations. Please forgive the horrible quality: It’s my first timelapse and there was a lot of fumbling involved. Future ones will be better, I promise. You can find the video below or check it directly in Youtube.

I often get asked about why I constantly switch renderers for my work, so maybe a few words about this. My tool of choice for most scenes remains V-Ray. This is especially true of large, complex scenes, with lots of geometry, scattered objects and displacement. V-Ray is a real workhorse, with the most extensive set of features, brilliant RAM management, the deepest integration in Max, and very fast in most situations. The interactive renderer, which wasn’t really usable for me in the past, has made great strides in 3.5. and now really allows real-time shading of assets. V-Ray also supports all of the coolest features of my two favorite tools: Forest Pack Pro and Railclone.

I’m also a regular user of Corona, which I often turn to for complicated interior renders. I’ve found Corona to be very predictably fast in tough GI situations, with lots of indirect light. It has a beautiful light falloff (something I can’t really put my finger on), is extremely simple to use, has a great and very responsive interactive renderer for quick shading, and its implementation of denoising is one of the best around. Its new lightmix feature is beyond cool and it also does a good, and fast, job at post-processing (think LUT, glare, bloom…)

Finally, I use Octane when I need super-fast feedback on relatively simple scenes, and often when doing animations (which is not really my bread-and-butter). There’s no question that the final images Octane delivers are effortlessly gorgeous all the time. It really is like using a camera. But it also has serious limitations. Being a GPU renderer, it means your scene and textures have to fit into the video card’s limited VRAM. Also, while Octane is lightning-fast in simple scenarios, rendering speed plunges very precipitously as soon as the scene gets more complex, especially for tough interiors. Third, the 3ds Max integration is pretty limited (it looks like the C4D plugin might be better).

All in all, these three renderers all have their strengths and weaknesses, and, above all, specific scenarios in which they excel. I wouldn’t want to miss out on any one of them, but I must also admit that all three fulfill pretty much all my needs, which is why I have yet to be tempted by another one. I heard a lot of good things about FStorm, but it is only available to rent and so I can’t make it part of my toolkit.

As always, I’d be happy to hear your thoughts. And remember that while I can see the Facebook comments and questions, I cannot respond to them there as I don’t have an account.

A few more images below.

Easy Chair

Easy Chair

Easy Chair

Easy Chair

To Rent or not To Rent

$
0
0

Today, I got an email from the company announcing massive price rises for the renewal of 3ds Max permanent license maintenance plans and steep discounts if I agreed to move to subscription (also known as the rental model). This sparked a bit of a discussion on the Autodesk forum. I wrote a comment there, which I’m now publishing below as food for thoughts for anyone who’s now wondering what to do.

Those who have followed this blog for some time know what I think of rental models (see older posts here and here). But what works for me may not work for you. This is not advice on what other Autodesk customers should do but a description of what makes sense for me given my personal circumstances and the price of Autodesk products in my territory. You may well come to a different conclusion. Also, this post is not meant to denigrate or criticize Autodesk and its products. I’ve used Max for many years and I think Max 2016 is an amazing piece of software (unlike 2017, which I could never use because it keeps crashing on me all the time) and I firmly plan on using it for many years to come.

* * *

First off, to make things clear from the outset, from my point-of-view there is zero advantage in moving from maintenance to subscription.

Prices for maintenance, new licences and subscriptions vary from territory to territory, so it’s hard to do the maths for everyone. But for me, the price of a yearly new subscription would be €1,600, which is more than twice what I will be paying to renew my maintenance plan for a year.

What do I get in both situations?

Maintenance plan: Permanent license of 3ds Max 2018; basic support; all updates and patches for a year.

Subscription: The right to use 3ds Max 2018 for a year, after which it will become non-functional; basic support; all updates and patches for a year.

So here’s the proposition: You can either buy a new car, use it for as long as you want, and even resell it on the second-hand market when you no longer need it.

Or

For twice the money, you can rent the same car and use it for a year, after which you can either give it back or pay the same amount again to rent it for another year.

Even Autodesk doesn’t deny this. In today’s email, it lists the advantages of subscriptions as follows: 1. Latest and greatest product capabilities; 2. Access to new industry collections; 3. New and improved support; 4. Simplified administration. Number 1 is not an advantage since it’s also provided by the maintenance plan (despite the wide-spread misunderstanding among financial analysts that it isn’t). Number 2 is hardly an advantage (you can spend even more money to get more products); I’ll leave number 3 to your consideration as all of us have had our experiences with Autodesk support (3ds Max 2017 never worked for me); and number 4 means nothing to me since my administration of 3ds Max is extremely simple: Remember to contact your reseller once year to renew.

Of course, the economics will vary slightly, especially considering the steep announced price hikes for maintenance and the deep discounts for subscription. But even if maintenance and subscription were to cost the same, subscriptions would always remain an inferior proposition by virtue of the fact that you no longer have the possibility to use the software if you stop paying.

Even if you were to consider switching from maintenance to subscription because of the substantial short-term discounts, you may want to reconsider after realizing that these discounts are only available if you agree to give Autodesk the car back that you bought from them a while back. This is from the FAQ that came with today’s email:

2.6 Can I continue to use my perpetual license software after switching my maintenance plan to a subscription?

Upon the commencement of your subscription date, you will no longer be able to continue using your perpetual license as the option to switch to subscription at this significant discount is conditional upon trading in your perpetual license/s on a maintenance plan for a new subscription.

This is called burning your bridges. It basically guarantees that anyone who moves from maintenance to subscription can never go back. From an economic point of view, this is of course nonsensical: Why would anyone give away a very valuable, gold-plated permanent license for a more expensive, vastly inferior rental car?

Of course, if you’re an investor in Autodesk, things look very different. The reason the move is a terrible deal for customers is the same reason why it’s a terrific one for investors, at least on paper.

With the move to subscription, you get: 1. A captive user base; 2. The guarantee that this user base will keep paying in the future whatever the product you offer them because not doing so would destroy their past investment (in economics term, this is what is called a “rent”–behavior that is normally frowned upon); 3. Vastly increased pricing power since you can jack up the price of subscription knowing that users will find it impossible to leave.

In practice, however, the move from permanent licenses to subscription has been pretty painful for Autodesk. In retrospect, this is not surprising given the economics of the options offered to customers. The company has not only seen revenues fall almost every quarter since it scrapped new permanent licences, it has also made losses every single quarter since (the latest quarterly results are actually due today, which probably explains the timing of the email). Still, Autodesk’s share price has been on fire for about a year as investors remain hopeful that Autodesk will eventually manage to coerce or entice all recalcitrant users into switching to subscriptions.

Illustrating this hope, an analyst was recently quoted as follows in a Barron’s article:

“The company has indicated it will raise maintenance prices in tranches over the next few years in an effort to entice customers to move to subscription (1.25-1.50x increase in LTV). At the analyst day in December, management put a finer point on this, announcing virtually all Maintenance customers are expected to be converted to Subscription by FY20. Any acceleration of that timeframe would be a positive for shares.”

For the company, the question is therefore: Is Autodesk’s market position dominant enough that it can persuade users to switch from a model to a financially and functionally inferior one? Maybe it is, maybe it isn’t. The fact that so many users have switched to subscriptions despite there being no good economic incentive to do so suggests Autodesk’s hold on its key markets may be sufficiently dominant. The sheer discontent with Autodesk’s products that is vented everyday on this forum and the fact that most of these irate users (me included) still choose to stick to the company nonetheless is another suggestion that many don’t have a choice or are just not ready to disrupt their workflows or business models.

In any case, Autodesk doesn’t need to move its entire user base. It just needs a critical mass, after which it can use its beefed-up pricing power to squeeze more profits out of its captive subscription customers.

Not every company in every market can do that, of course. If Nvidia could switch from selling graphic cards to renting them out for a year (at twice the price of a new card), it would certainly do so. But it can’t because it is locked into fierce competition with AMD. So instead, it decided to price its latest gaming card at a fraction of the expected price this week in a bid to pull the rug from under AMD’s feet. This is why competition is such a great thing for us users.

Now, I can’t tell you what you should do because individual circumstances will vary, but here’s what I did in the past: When Adobe switched from permanent licenses to subscriptions, I considered my options and decided to purchase the last available permanent license (the entire Creative Suite 6.0). As I expected, I’m still using it today and it’s great. None of the innovations brought by Adobe’s updates since then would be of any use to me. I figured that owning CS6.0 would buy me enough time to see either Adobe change its mind on permanent licenses or for a better alternative to emerge. The first hasn’t happened, but the second has. Recently, I bought a permanent license of Affinity Photo that does everything Photoshop does and a lot more, and gives me access to all these third-party plugins that are no longer being developed for CS6.0. I couldn’t be happier.

As for now, I will renew my Autodesk maintenance plan before the price increase kicks in. Hell, I may even renew it for several years to lock in the lower price. After that, I will wait for Autodesk to change its mind or for a better alternative to emerge. And even if none of this happens and I still find myself wedded to 3ds Max three or four years from now, I can always switch to subscriptions then and I will still have saved a big bundle of cash. It’s what you call a no-brainer.

Exposé 12

$
0
0

If you’re in this business, you already know about Ballistic Publishing’s Exposé series, the luxurious coffee table books that showcase the latest and greatest in digital art.

Turns out two of my images have been selected to appear in Exposé 12 and nominated for an award, both in the still-life category. They are part of 367 images by 270 artists that will make it into the book. You can check the nominees and their work here, with dozens of categories ranging from archviz to “fantasy femmes”.

If you’re interested in the book, note that Ballistic has changed the way it publishes. The only way to get a copy is to order one via Ballistic’s CGStarter page here. Once the campaign ends, they won’t print any more copies. So check it out if you’re interested.

The awards will be announced at a live broadcast on April 8. Below are the two images that were nominated.

Digital cheese board

Raw renders

Still Life With Honey

$
0
0

Still Life With Honey (V-Ray)

A few weeks ago, I was getting lost in the still-life, food-styling and Scandi corners of Pinterest and decided I would try to emulate the look of one of these dark, moody still lives (check out Kate S Jordan to get the rough idea).

I started with something quite minimalistic and, as too often, got a little carried away in the details.

This ended up being a great modeling exercise and a good excuse to dig a little deeper into ZBrush and Quixel, which I hadn’t really used all that much since buying a license a long time ago and did a really good job adding interest to some of the textures and materials (for instance the scissors and the pepper mill).

I also decided to do three versions of the scene for V-Ray, Corona and Octane. You can get all three here if you’re so inclined.

The version at the top, and the one all others are derived from, is V-Ray. The Corona version is below…

Still Life With Honey (Corona)

And this is Octane. I’ll let you ponder the respective qualities and deficiencies.

Still Life With Honey (Octane)

I’m also adding some quick and dirty detailed shots in V-Ray…

Still Life Detail (V-Ray)

Corona…

Still Life Detail (Corona)

And Octane.

Still Life Detail (Octane)

This was a pretty heavy scene to render, with lots of complicated shaders, displacement and a few simple particle systems. Interestingly, none of the three renderers seemed to be faster than the other, though V-Ray and Corona’s denoisers helped in cleaning up some of the residual noise.

For the polynerds, here are a few wire shots below and a short video of a viewport walk-through of the scene.

If you have questions, please ask them on the blog as I can’t comment on the Facebook page.

Still Life (wires)

Still Life (wires)

Still Life (wires)

Still Life (wires)

Still Life (wires)

Bean Juicer

$
0
0

Quickmill Stretta 0820

I’ve had this little vintage Italian engineering wonder, the QuickMill Stretta 0820, in my home for some time, and it makes the best Espresso I’ve ever been able to conjure up without outside help. And it’s cute.

Reason enough to try and model it in 3ds Max, especially after getting some practice modeling the much fancier Rocket machine I included in my 70m2 scene.

So here it is, modeled in the latest working version of 3ds Max (aka. Max 2016), and rendered with Octane 3, using the new Bokeh-customizing option and the render-speeding adaptive sampling option switched on. Since it was tonemapped directly in the frame buffer, post-production (in ArionFX) was very minimal and basically limited to a tiny bit of CA.

The coffee beans were quickly sculpted in ZBrush and I used an Octane random-color texture plugged into the brightness input of the diffuse texture to get the color variation. The beans themselves were pretty low poly, with most of the details coming from a normal map. The simulation was done with MassFX.

Some of the materials for the QuickMill were done in Quixel’s DDO.

This was also the first full-scale project I rendered in my recently acquired GTX 1080 Ti, which is a nice – though not radical – improvement on my old Titan X Maxwell. These images were originally rendered at 2400×2400 pixels in anything between 30 minutes and one hour, largely depending on the amount of DOF.

Here is the rest of the series and a small wire image to give you a sense of the geometry. Go here for the full-resolution images.

Quickmill Stretta 0820

Quickmill Stretta 0820

Quickmill Stretta 0820

Quickmill Stretta 0820

Quickmill Stretta 0820

Quickmill Stretta 0820

Quickmill Stretta 0820

Quickmill Stretta 0820

Quickmill Stretta 0820

Free Holes

$
0
0

18 Free Bullet Hole Alphas

By the end of World War II, Berlin was a pile of rubble, though you’d be hard pressed to tell these days given the extensive rebuilding work of the past 70 years. Still, if you pay attention, the scars can still be found. Shrapnel impact and bullet holes are everywhere: On bridge piles, bunker walls, and even the odd remaining apartment building.

When I first came to Berlin some 15 years ago, I rented my first flat in a beautifully renovated turn-of-the-century tenement block in the leafy Prenzlauerberg district. But when I moved in, I noticed the entire courtyard facade was still covered in impact holes, with barely a scrap of stucco left intact.

To cut a long story short–and to switch to a more positive note–these scars mean that Berlin remains a rich font of inspiration and resources for artists interested in the derelict, the broken, and war damages of all kinds.

Recently, I went on a photogrammetry expedition to capture parts of an old bunker in the former eastern district of Mitte. You can see the result in the title image, retopoed in ZBrush and rendered with V-Ray (check my poor-man’s scanning workflow here). In the process, I thought I’d extract some bullet-hole alphas to be used for sculpting in ZBrush.

I’m now sharing those alphas for free, and you can find them here.

There are 18 different 16-bit greyscale PSD files at 1024×1024, which were extracted directly from the 4-million-poly wall mesh, so they have all the details of the original wall asset. The archviz artists among you may struggle to find a use for them, but if you are into game assets or environments, you might find them useful. Remember that they are the real deal!

You can see all the alphas below and a few examples of what you can do with them (here in ZBrush).

Enjoy and let me know if you do anything cool. And while you’re in The Warehouse, check out my commercial assets, which are a lot more peaceful.

18 Free Bullet Hole Alphas

18 Free Bullet Hole Alphas

18 Free Bullet Hole Alphas

18 Free Bullet Hole Alphas

18 Free Bullet Hole Alphas


To go

$
0
0

It’s done, the QuickMill Espress maker is in the warehouse. The archive contains both a V-Ray and an Octane versions, and they will both open in Max 2013 and higher. Get it here.

More info about the model here.

All renders here without post-production.


Lost Signal

$
0
0

1965 Brionvega TS-502 Radio

How I cried over this one…

I’d modeled the 1965 Brionvega TS-502 portable radio once before. I was pretty happy with it, but it was done in Nurbs and ended up an unsightly mess of elongated triangles and ngons once tesselated, which made it hard to use as a visualization asset.

So I returned to it last week–the hard, poly-modeling, all-quads way. And this is how it looks in V-Ray. I even did a little spline-driven rig to make the rubber bands linking the two side fold on themselves as you close the shell (see it in action in the short, rather poor quality, Youtube walk-thru below).

This is not what made me cry though. When starting a new project this week, I accidentally wrote over the Brionvega scene. I was able to rescue the model from an early autosave file, but without any materials or even UVs. So it’s basically back to the drawing board.

Here’s then to a bit of nostalgia for a model that no longer is…

1965 Brionvega TS-502 Radio

1965 Brionvega TS-502 Radio

1965 Brionvega TS-502 Radio

1965 Brionvega TS-502 Radio

Big Beer

$
0
0

BRLO beer CGI

This has been lying on my hard drive for some time, so here it is. No particular point to this other that Spring is my personal beer time and this might just be, if not the best beer in the world, probably the best beer in Berlin.

All done in 3ds Max and V-Ray. And no, I’m not affiliated with BRLO in any way.

Enjoy (with moderation).

BRLO beer CGI

BRLO beer CGI

BRLO beer CGI

Emma’s Place (V-Ray)

$
0
0

Emma's Place (V-Ray)

Meet Emma’s Place, a not-too-subtle homage to Swedish blogger extraordinaire Emma Fexeus.

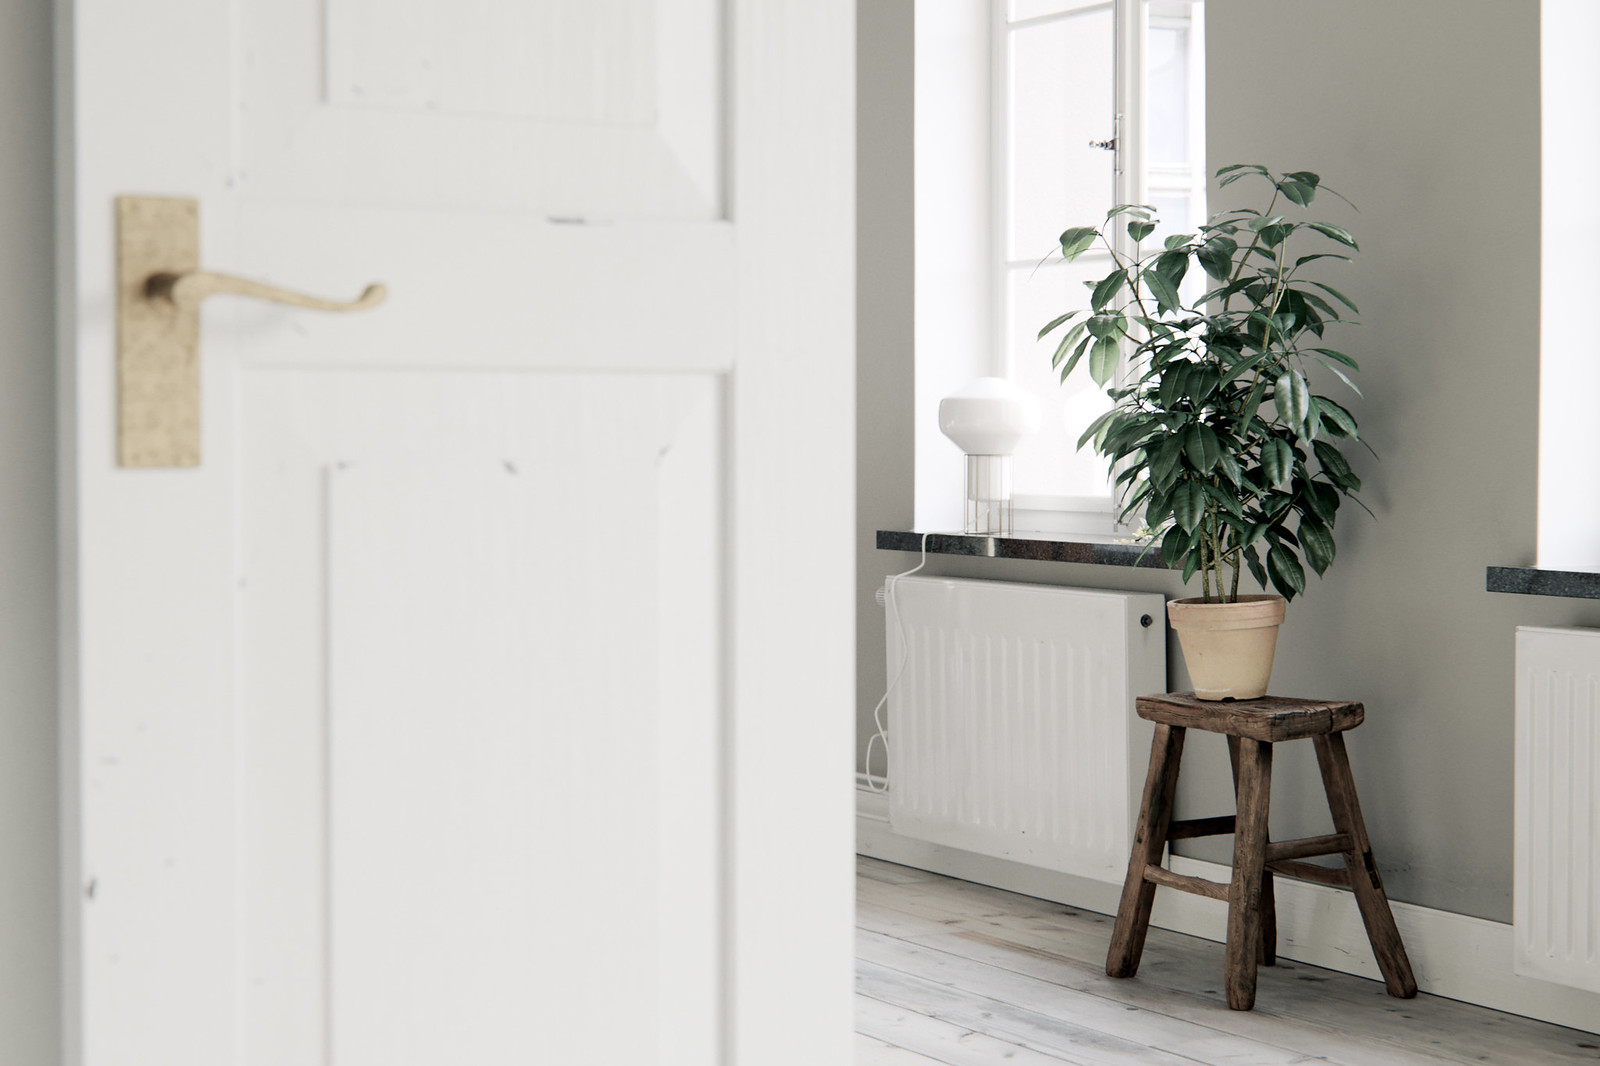
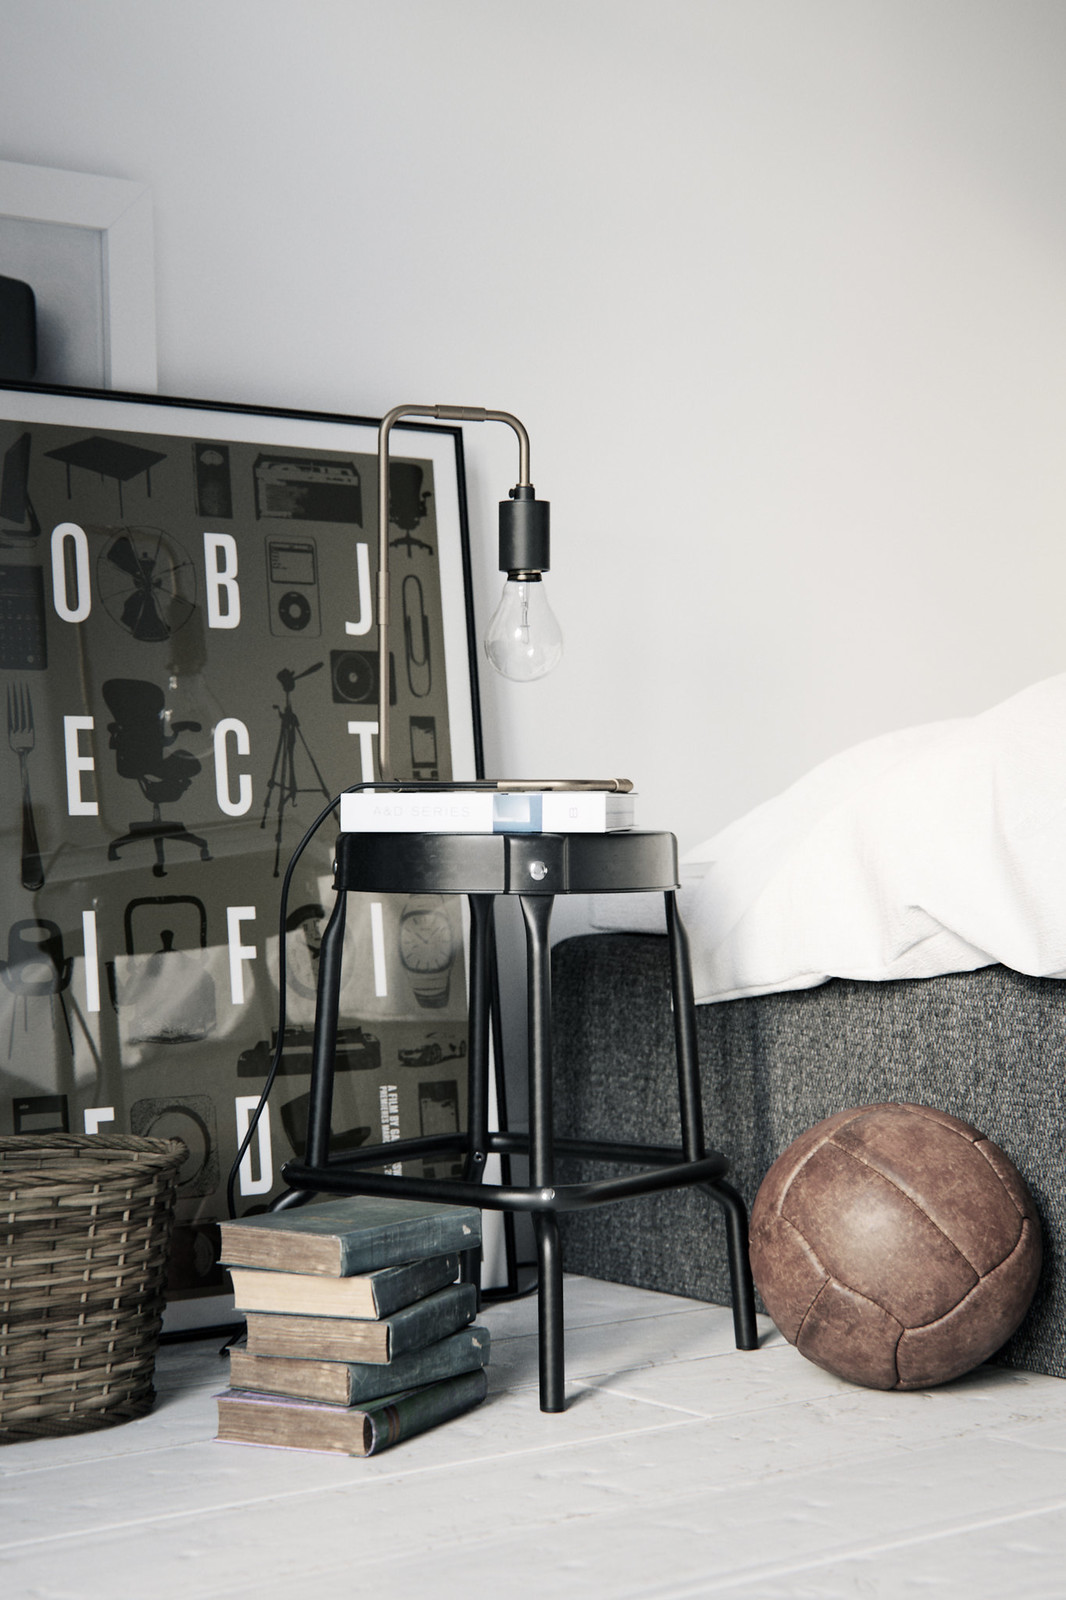
This one was long in the making. The goal was to replicate not just a typical Scandinavian interior, but also the way these are often photographed. I’ll get back to that last point in a moment.

The inspiration came from a variety of sources, but the beautifully styled interiors of Swedish real-estate agent Fantastic Frank and the photography of Jonas Berg played a big role, as well as the ton of images ripped and saved to my gigabyte inspiration folders.

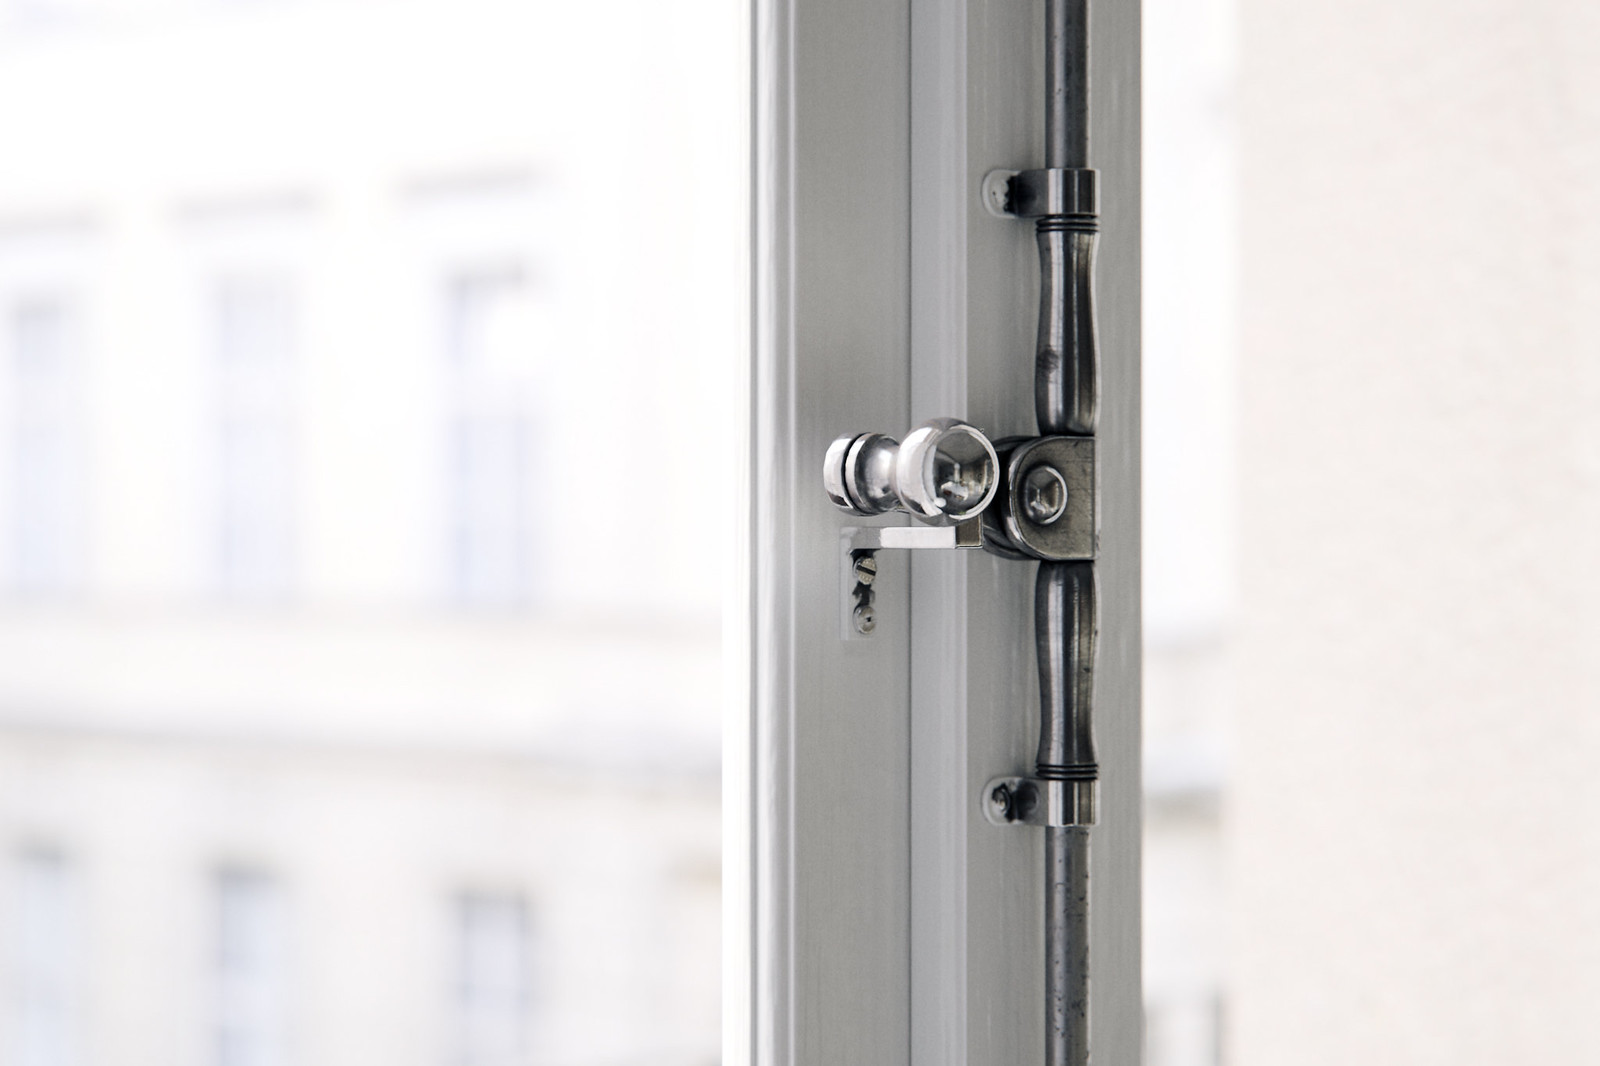
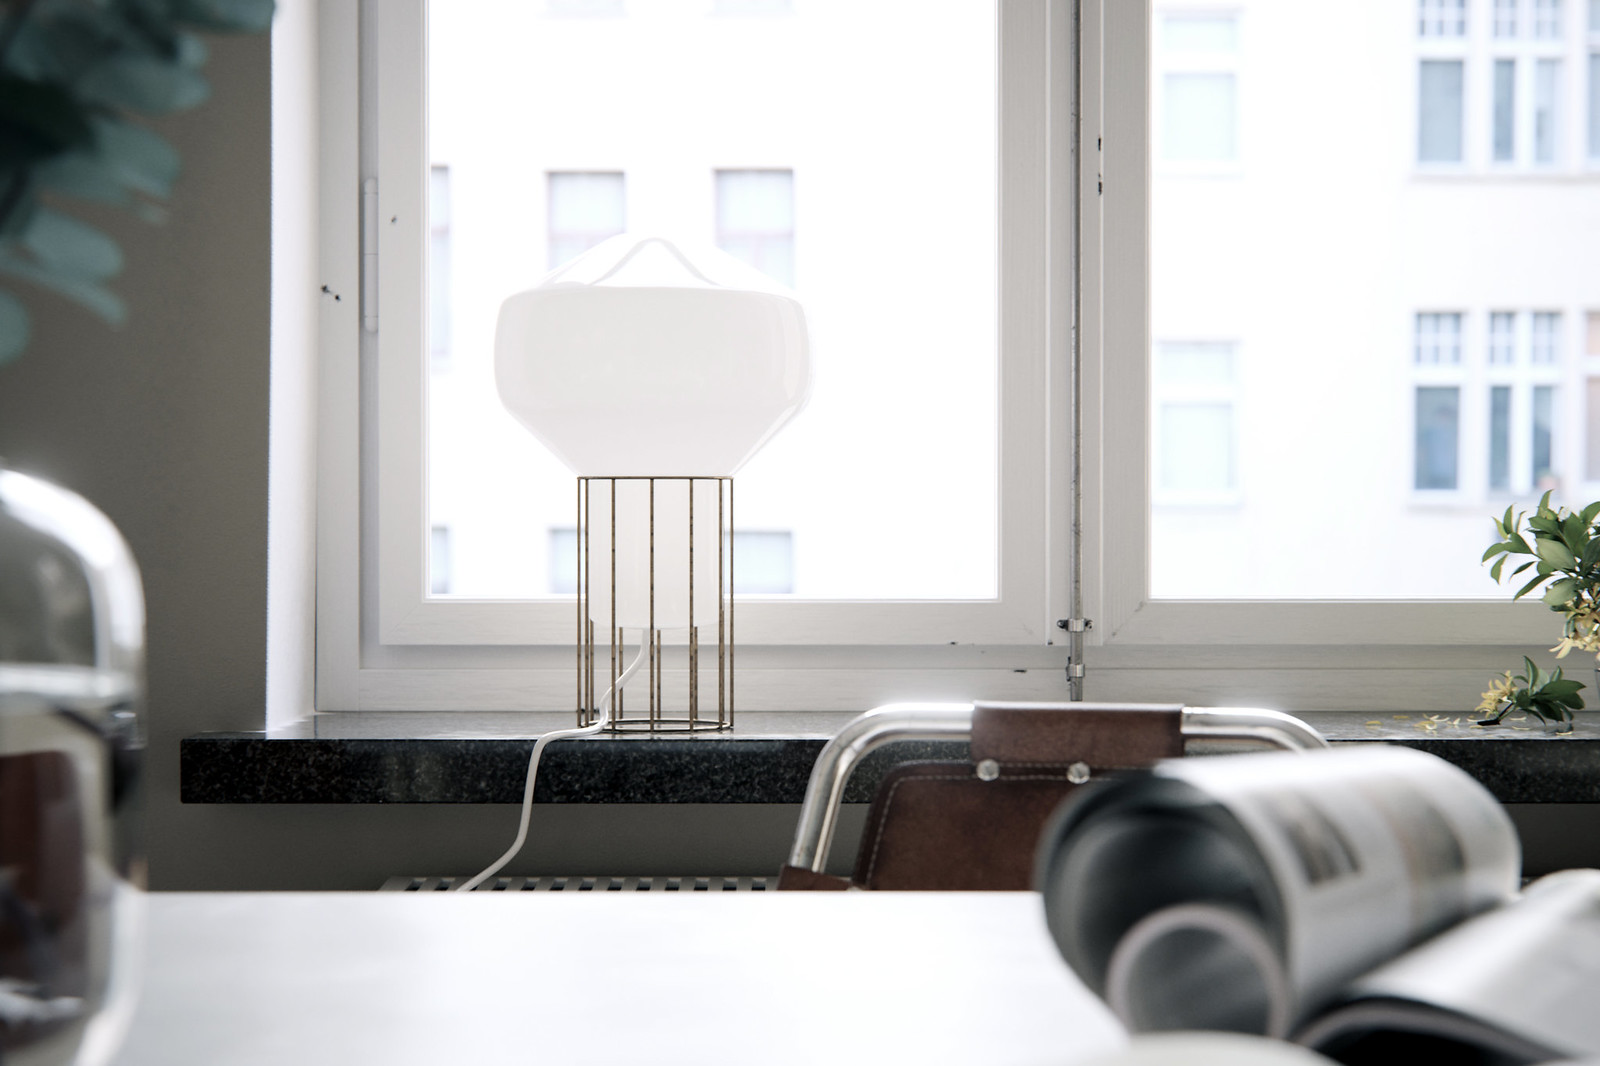
Part of the deal here was to replicate the subtle, painted-over imperfections of old buildings, from the heater pipes to the electric cables and the faint wear-and-tear marks on the walls and skirting boards. A lot of it is barely visible, as is the fact that there aren’t that many straight lines here, if you look closely.

Emma's Place (V-Ray)

One of the reasons it took so long to do was that pretty much everything was unwrapped and manually painted, in the diffuse and, occasionally, the normal and glossy channels. There was a fair bit of ZBrush sculpting too, some GrowFX for the plants, and Marvelous Designer for the fabric. Quixel Suite was used to texture some of the assets. The carpet is a VrayFur Modifier and the Corona version uses a standard 3ds Max Hair&Fur modifier.

The brick wall is a custom tileable texture derived from a photoscanned piece of wall, which means accurate displacement. A few of the assets (the wood stools, the planters, the basil leaves…) were also scanned.

Emma's Place (V-Ray)

Another area that got special attention was the exterior, which is all 3D and polymodeled in order to maintain plausibility under any angle.

Emma's Place (V-Ray)

This is the V-Ray version of the scene. But I also did a Corona version. You can see both sets of images at full res here.

The scene (with the V-Ray and the Corona versions) is available in The Warehouse as of today, and you can find it here.

For the first time, the archive includes two post-production .psd files showing a detailed break-down of my process. That process is pretty simple, and I will get back to it in a dedicated tutorial which I’ll post in the next few days, maybe earlier.

In the meantime, enjoy a few more images below and check out the full set.

Emma's Place (V-Ray)

Emma's Place (V-Ray)

Emma's Place (V-Ray)

Emma's Place (V-Ray)

Quick Scandi Look

$
0
0

I’ve always been reluctant to make a post-production tutorial for a few reasons.

First, I never felt I had the competence. My domain is CG, and retouching is a full-time job. I don’t know my way around Photoshop or Affinity nearly as well as I do around 3ds Max.

Second, it’s been a long time since I’ve done any post-production right into PS or Affinity. These days, I work with ArionFX and I would recommend all CG artists check it out. Unlike PS, it can work in 32-bit color depth, which I’ve come to consider essential, especially when doing bloom and glare effects, which require full dynamic range. And unlike PS, it was built with CG artists in mind, not photographers. It allows you to add CA–not remove it–vignetting, remove noise and add grain, generate lens effects and tonemapping, all under one roof. But ArionFX doesn’t lend itself to tutorializing. At least not the way I use it. Essentially, I just screw around with the controls until I get something I like. It’s a pretty organic, haphazard process. Also, ArionFX generates a final image, not a set of layers that you can deconstruct in an explaining way.

Which brings me to the third reason: I don’t think I ever devised a post-production “system” that could be applied to any render. I’d say about 90% of what I do varies depending on the image, the nature of the scene, and the goal I have in mind. A tutorial would only ever work for one specific image.

Having said that, the questions have kept coming, and before people start suspecting that I’m hiding a secret recipe, I thought I’d go through my workflow, even if it’s bound to disappoint: There really isn’t all that much to it.

In this post, I’ll go through the post-production .pdf files I’ve included in my latest scene. I’m doing this here on the blog because I don’t want anyone to buy the scene for the post-pro files, expecting hundreds of complex layers, and then be disappointed when they realize how simple it all is.

The goal here is to try and achieve what I would normally do with ArionFX but only using mainly native PS tools, and as few steps as possible (I’ll quickly go through the ArionFX method at the end). A note of caution: This is more a quick hack than a real PS workflow: purists and experts are certain to disagree with me here. And if you do, feel free to object in the comments. I’m bound to learn something.

Finally, one last word of caution: When turning to post-production, make sure you’re happy with your render. No post-pro, however good, will ever be good enough to rescue a bad render. If you’re not happy with your render, chances are you won’t be happy with your final image. If that’s the case, push it hard until you can’t push anymore. In my book, post-pro is just there to give a good image one last little quick. It’s not a magic wand.

Before we start, let’s first agree about what we’re trying to achieve.

This scene was inspired by the popular Scandi style of interior photography. One good example is the work of Jonas Berg, a fascinating photographer I’ve referenced here before. Below is a grab of his online gallery:

If you take the image with the guy and the tree into PS and user the color-grabber, you’ll find the blacks are almost black but not quite. The guy’s T-shirt, for instance, has RGB values of 5 in all channels. The darkest part of the planter has RGB of 4/4/4. The whitest parts of the image (the highlights on the door, the window opening or the speculars on the floor are pure 255 whites. But the walls don’t go above 237 or so.

You can see all this in the level histogram (notice the clipping in the whites and the not-quite blacks):

So what we’re aiming for, in this particular case, is a bright image, with high contrast, a slight hazy feel in the whites, and relatively low saturation. I would also assume that Jonas’s original image doesn’t have as much clipping as the little jpg on his website, so I’ll try not to clip my highlights quite as much.

This is where we start, with the raw render, and as you can see, it’s pretty dark and gloomy:

Note that the original 32-bit exr was converted into a 16-bit image, which is as high as PS will go without becoming completely useless. It’s a shame, but that’s life. I’d always rather work in 32-bit because it allows you to recover a lot of invisible information in the highlights and shadows and this is why I normally prefer ArionFX.

My first step is to add a little chromatic aberration. For this I use PTLens by Epaperpress, a cheap PS plugin designed to correct lens imperfections, such as CA, barrel and pincushion distortion, vignetting, etc. from photographs. In this case, we’ll use it to add imperfections. These are my settings:

As you can see, the effect is very subtle. Just a pixel or two. As a rule, if you can see it at 100% zoom, it’s probably too much.

Next step: A bloom effect.

When working in ArionFX on a linear 32-bit image, bloom will generally take care of itself. The color-depth in the image will tell ArionFX where the super bright bits are and it will apply bloom just to these (hand-tweaking is of course possible). Much of this information gets lost in the conversion to 16-bit, so we’ll just cut out the parts of the image where we think the light must be brightest. Here, these are two triangles of skies we can faintly make out behind the facade outside. Just lasso those and paste them into a new layer. Fill the rest with black, and apply a gaussian blue with a medium radius to the image. This will be your bloom mask.

With the blending mode set to “screen”, add a curve adjustment layer that is only applied to the bloom mask. The goal is to give the bloom more of a blue color, because it comes from the sky outside. If you’re adding bloom to incandescent lights, you’ll want to push the reds instead.

This is how things look like now, with the bloom layer set to “screen” and 83% opacity:

Next, I’ll use a level adjustment layer to lighten the mediums and slightly crush the blacks, without burning out the lighter parts of the image.

The curve adjustment on top of that is just for fine-tuning the contrast:

By now, however, our image is way too saturated. The “Hue/Saturation” layer just above takes care of this for a more subdued feel:

Et voilà. That’s really all there is to it. Now you can apply this to other images in your render folder and achieve the same feel with minimal tweaking (except the bloom layer, of course, which you need to prepare from scratch for each new image).

Now let’s see how things would look like in ArionFX. For this, I will use a 32-bit exr straight out of the VFB. This time, I will use a Corona render:

These are my settings:

The HDR upcast and HDR bloom options control the intensity of the bloom. Glare is disabled here, as are the noise and detail functions.

There is a little vignetting and the HDR color fringe option controls the CA (very subtle).

In the Tonemap section, ISO is boosted to 1000 for a lot more brightness, while Gamma is lowered to 1.4 for more contrast. Reinhard burn is set very low to prevent burnouts.

In the Grade section, I’ve lowered the saturation and made the temperature a little colder, aiming for a neutral white balance.

You can go crazy with the ton of film LUTs ArionFX comes loaded with, but in this case, I used the pretty neutral “RandomControl camera”.

This is the result:

You can always push things even a little further with the level-and-curve approach after converting this image to 16-bit. Just make sure not to burn everything out. Aim for airy, not harsh.

That’s it. Pretty basic, as you can tell, but it does the job for me. Let me know what you think.


Viewing all 127 articles
Browse latest View live


Latest Images